🏇 Open For Business (4th November) & Closed Melbourne Cup (5th November) 🏆
⭐⭐⭐⭐⭐ AUSTRALIA’S LARGEST RANGE OF NATURAL STONE PAVERS ⭐⭐⭐⭐⭐
Mon-Fri 7:30am - 5pm / Sat 9am - 4pm
From $4.40 / m²
ORDER FREE SAMPLE | REQUEST A FREE QUOTE
![]() 100% NATURAL STONE
100% NATURAL STONE
![]() SAFE NON-SLIPPERY SURFACE
SAFE NON-SLIPPERY SURFACE
![]() WEATHER RESISTANT
WEATHER RESISTANT
![]() GREAT FOR INDOOR AND OUTDOOR
GREAT FOR INDOOR AND OUTDOOR
*Please add required FLATS (in m²) or CORNERS (No. of pieces) to the cart.
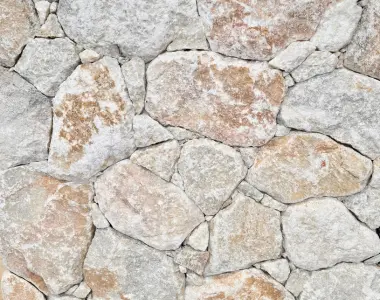
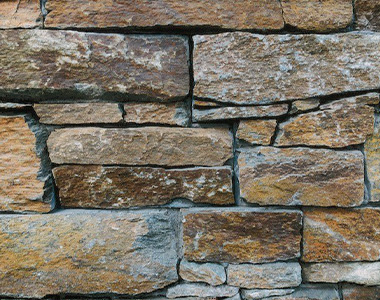
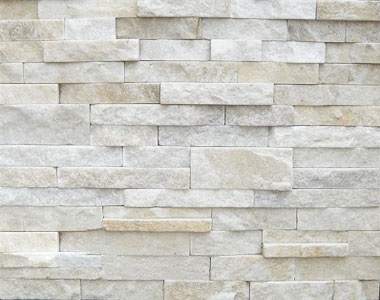
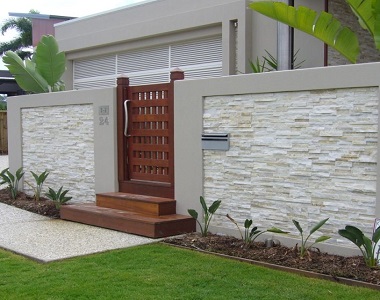
Enhanced Brazilian Quartzite 3D Stack Stone light weight wall cladding panels. To achieve this colour enhanced look you must apply our colour enhancing sealer once only.
Easy to install for all you DIYs out there. We even have natural looking 2-Piece interlocking corners, to make your job look professionally finished.
Tiles are 600x150x10-18mm with matching corner pieces 300x150x12-15mm
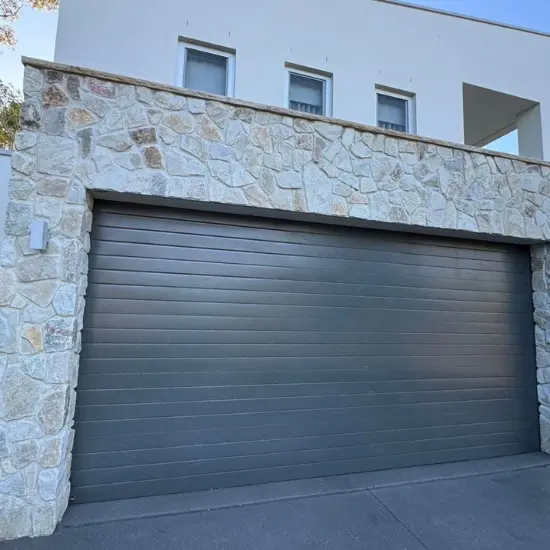
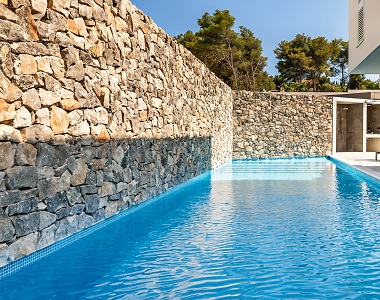
Suitability: Great for use internally or externally for water features, fireplaces and front portico’s.
Sealing: Stack stone cladding can be sealed with an invisible penetrating sealer to assist in the ongoing maintenance of the stone cladding panels once installed.
Maintenance: Stack stone cladding panels respond well to high pressure cleaning. A solution of mild detergent and water, can be applied prior to pressure cleaning.
We deliver stackstones door-to-door to all suburbs in Melbourne, Canberra, Sydney, Adelaide, Brisbane, and Hobart. We also deliver to any regional area in Australia at reasonable freight rates.
Brazil Stackstone Wall Cladding is a perfect choice for…
For more information feel free to give us a call on 03 9706 9767 or Talk to one of our experts and get a FREE Quote.
| SIZES + PRICES: | Corners 300X150mm (each) (Brazil), Flats 600X150mm 69 (m²) (Brazil) |
|---|
Sealing: Stack stone cladding can be sealed with an invisible penetrating sealer to assist in the ongoing maintenance of the stone cladding.
Cleaning: Do not use Hydrochloric acid for clean up as this can cause minerals present in the stone to react.
Maintenance: Stack stone cladding responds well to high pressure cleaning. A solution of mild detergent and water, can be applied prior to pressure cleaning.
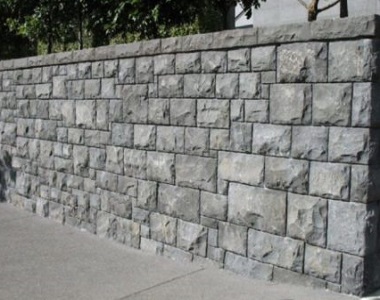
Suitability: Great for indoors and outdoor applications such as: stone retaining walls, indoor feature walls, ponds and outdoor wall cladding.
Installation Guide Prior to installing your stone cladding, it is important to decide whether waterproofing is required on your substrate. All wall boarding joins and screw holes should be sealed properly.
If in doubt, consult your nearest board manufacturer. We recommend masonry substrates for natural split stone due to weight. Ensure to leave a expansion joints between abutting surfaces eg start 10mm off floor.
These can be soft filled with colour matched caulking at the end of the install.
Start your Corners first, alternating the long and short returns as you work upwards. Be sure to keep the work roughly level as you go for stacked stone. Snap a chalk line or use a spirit level to check every few rows.
Sometimes it maybe necessary to trim the tile a little bit of the tile to keep them approximately level as you must not use spaces like you do with ceramic tiling. Use a trowel edge, nipper or other sharp, blunt tool to trim stones if necessary.
For straight cuts, use a grinder with a diamond or masonry blade. If your stone panels interlock, w recommend when cutting the stone to repeat the interlocking cut DO NOT simply cut a vertical line as it doesn’t look great at the end. Conceal trimmed edges with grouting where applicable, or hide them by turning the cut side upward above eye level or downward below eye level.
When installing in a dry, hot climate or onto extremely dry surfaces, be sure to wet the stone and the wall first so they do not absorb moisture from adhesive.
You can spray or otherwise apply water onto the back of the stone or dip it into water. Spray or brush water onto the wall as well. Allow both to dry a few minutes to remove excess water.
For Adhesives, if using Mapei Keraflex pre-mix Adhesive (or Equivalent), ensure to wipe off excess from face of stone immediately with a Wet Sponge otherwise it may be difficult to clean off when dry.
For Grouting, if Mapei Keracolour GG Grout (or Equivalent) is used and accidentally gets on the face of stone during installation, do not wipe it off. It will smear and discolour the stone.
Instead, let it set until ‘touch dry’ – typically around 20-40 minutes dependent on weather, then brush it away with a dry heavy duty bristle broom.
Avoid water runoff onto your installation. Divert water away with flashing. Local building codes vary. Be sure to check the requirements in your area. Lay out the stone near your work area first.
As you install, choose stone that vary in colour tones, shape and size for best result.
Apply the adhesive to the wall and the back of the tile using a 10mm notched V trowel.
Typically 10-15mm thick adhesive bed to the back of the stone, then rub the stone against your substrate is a gentle back-and-forth motion until the adhesive squeezes out around the edges. As a guide, a minimum 5-6mm final adhesive bed is ok. Check with adhesive manufacturer if in doubt.
