

Stone Pavers Australia PL created this guide to help Aussie homeowners and installers get natural stone paving right the first time — with clear steps that suit Australian soils, weather and outdoor lifestyles.
Homeowners planning a patio, courtyard, path, pool surround, or outdoor entertaining area
Landscapers/builders installing natural stone pavers in Australian conditions
(For driveways and high-load areas, use the driveway section and consider engineering.)
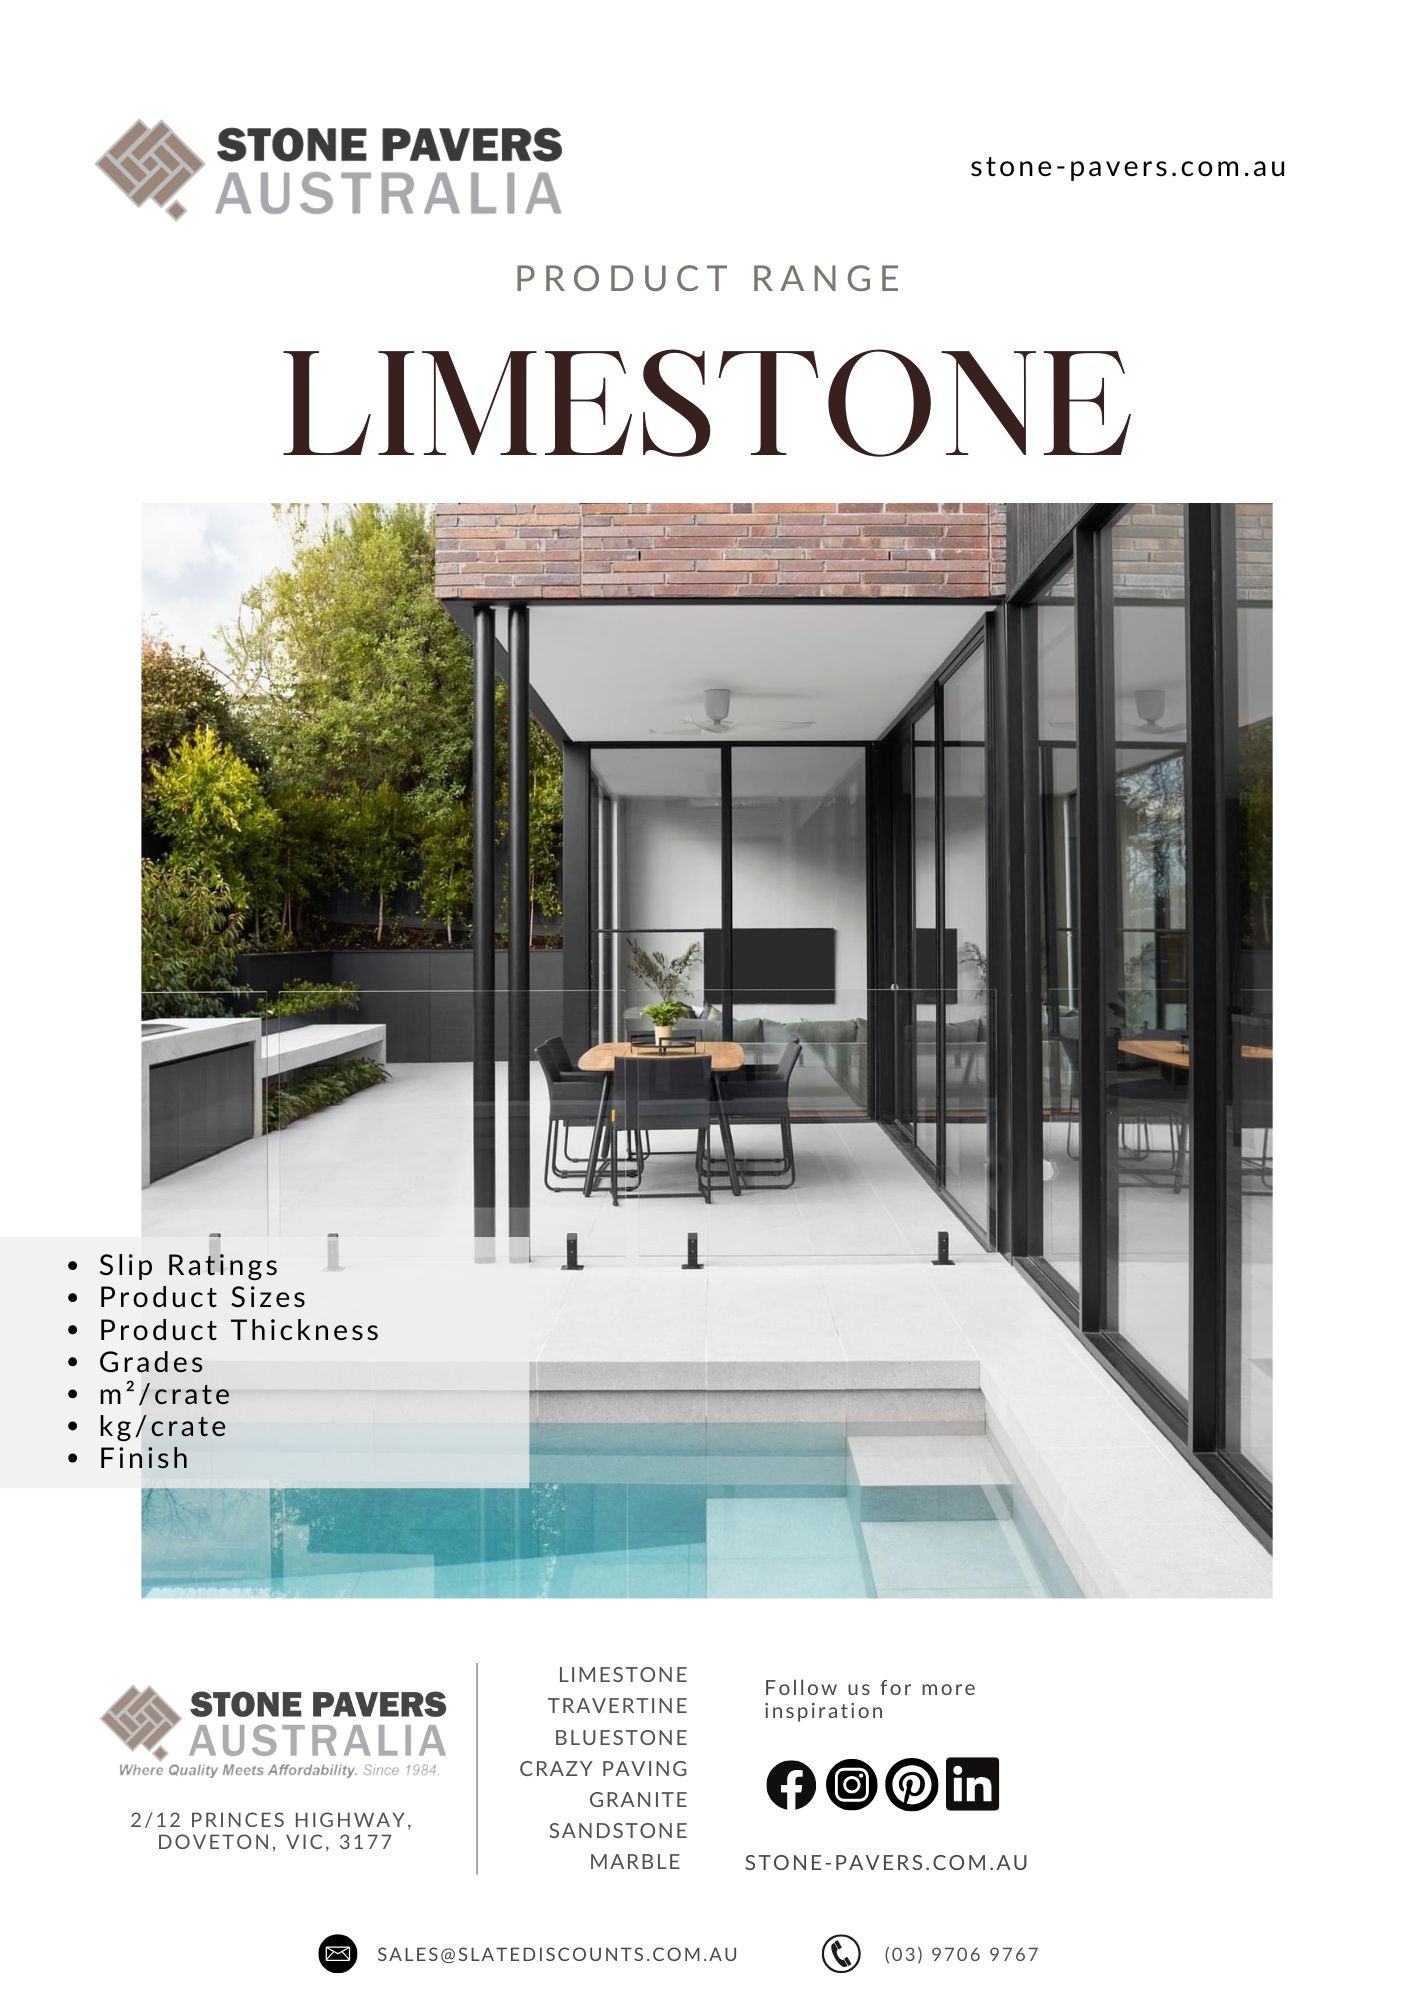
12mm–15mm: best wet-laid on a concrete slab (especially pool surrounds, alfresco on slab)
20mm: can be wet-laid on slab; can be used on a compacted base in some pedestrian areas (stone-specific—check supplier)
30mm+: ideal for sand/cement base and heavier-duty outdoor areas; common for pool surrounds, patios, paths
Driveways: generally 40mm+ stone or engineered pavement design (don’t guess)
Aim for 1:80 fall (minimum) away from buildings
For pool surrounds and exposed areas, many installers target 1:60
Plan where water goes: garden bed, spoon drain, strip drain, stormwater point
Add 10% waste for straight runs
Add 15% waste for patterns, curves, French/Versailles layouts, lots of cuts
Calibrated stone / tight pattern: 3–5mm
Tumbled edges / rustic: 5–10mm
Some exterior installs: 8–12mm (helps hide natural variation)
String lines, tape measure, levels, laser (best), rubber mallet, angle grinder (diamond blade), plate compactor, shovel, wheelbarrow, screed rails, trowels, sponge, buckets, grout bag (optional).
Option 1: Sand/Cement bed (most common for 30mm stone)
Road base / crushed rock
Bedding sand + cement (typical mixes below)
Edge restraints (mandatory)
Jointing sand or grout/mortar (depending on finish)
Option 2: Concrete slab (wet-laid)
Concrete (new slab or existing)
Primer/bonding slurry (recommended)
Flexible outdoor tile adhesive (C2TES2 / S1 style) suitable for stone
Exterior grout (or mortar joints) + movement joints
Penetrating sealer (natural finish) for outdoor stone
Use a sealer suitable for your stone type and finish
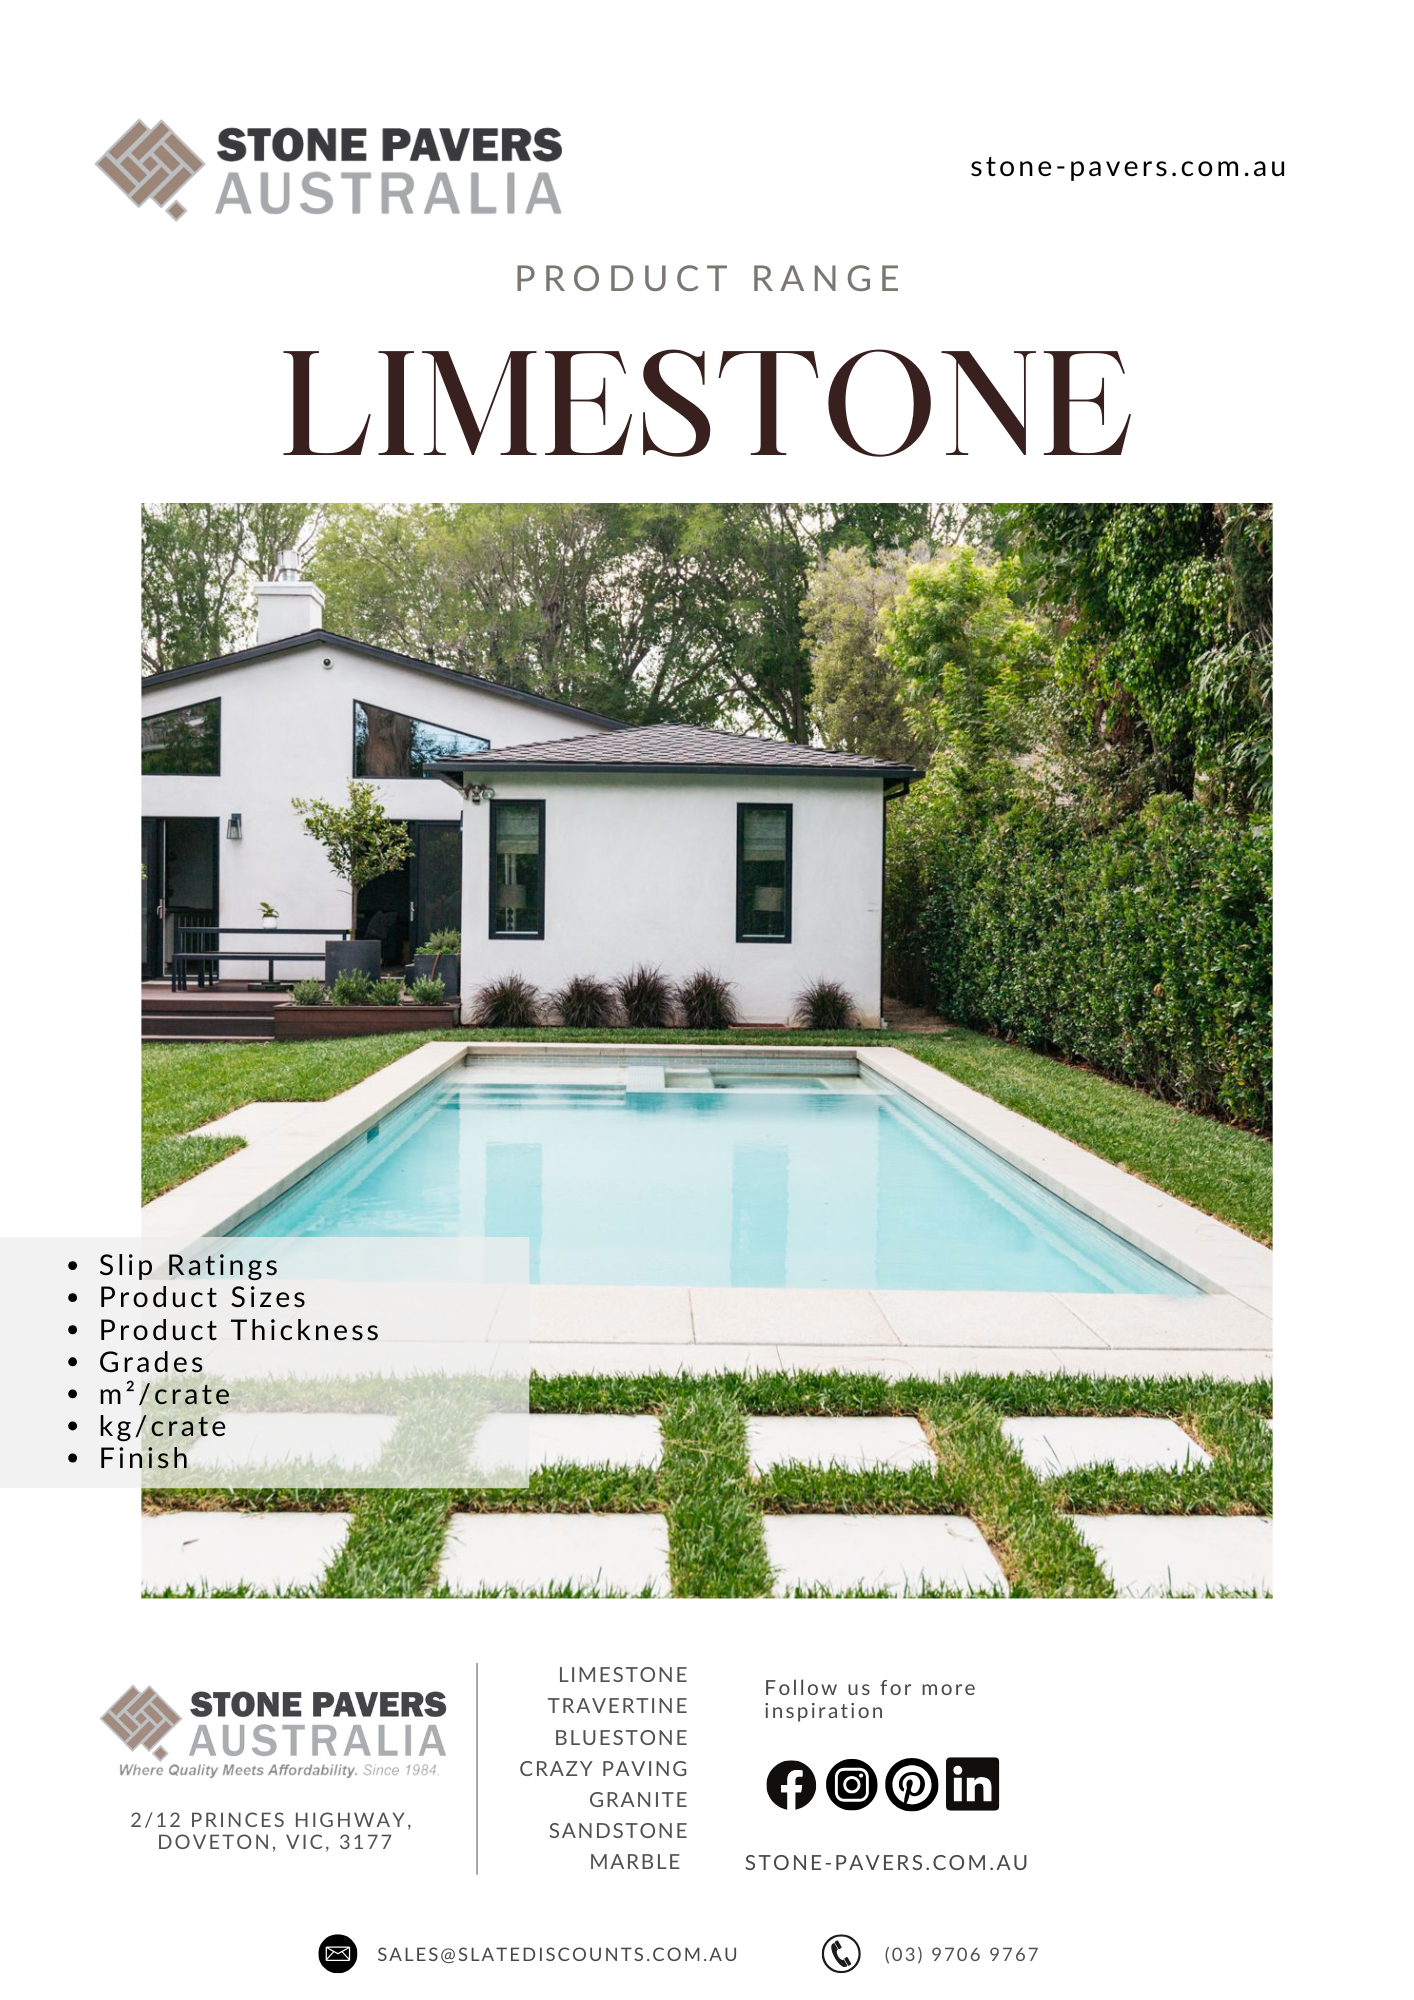
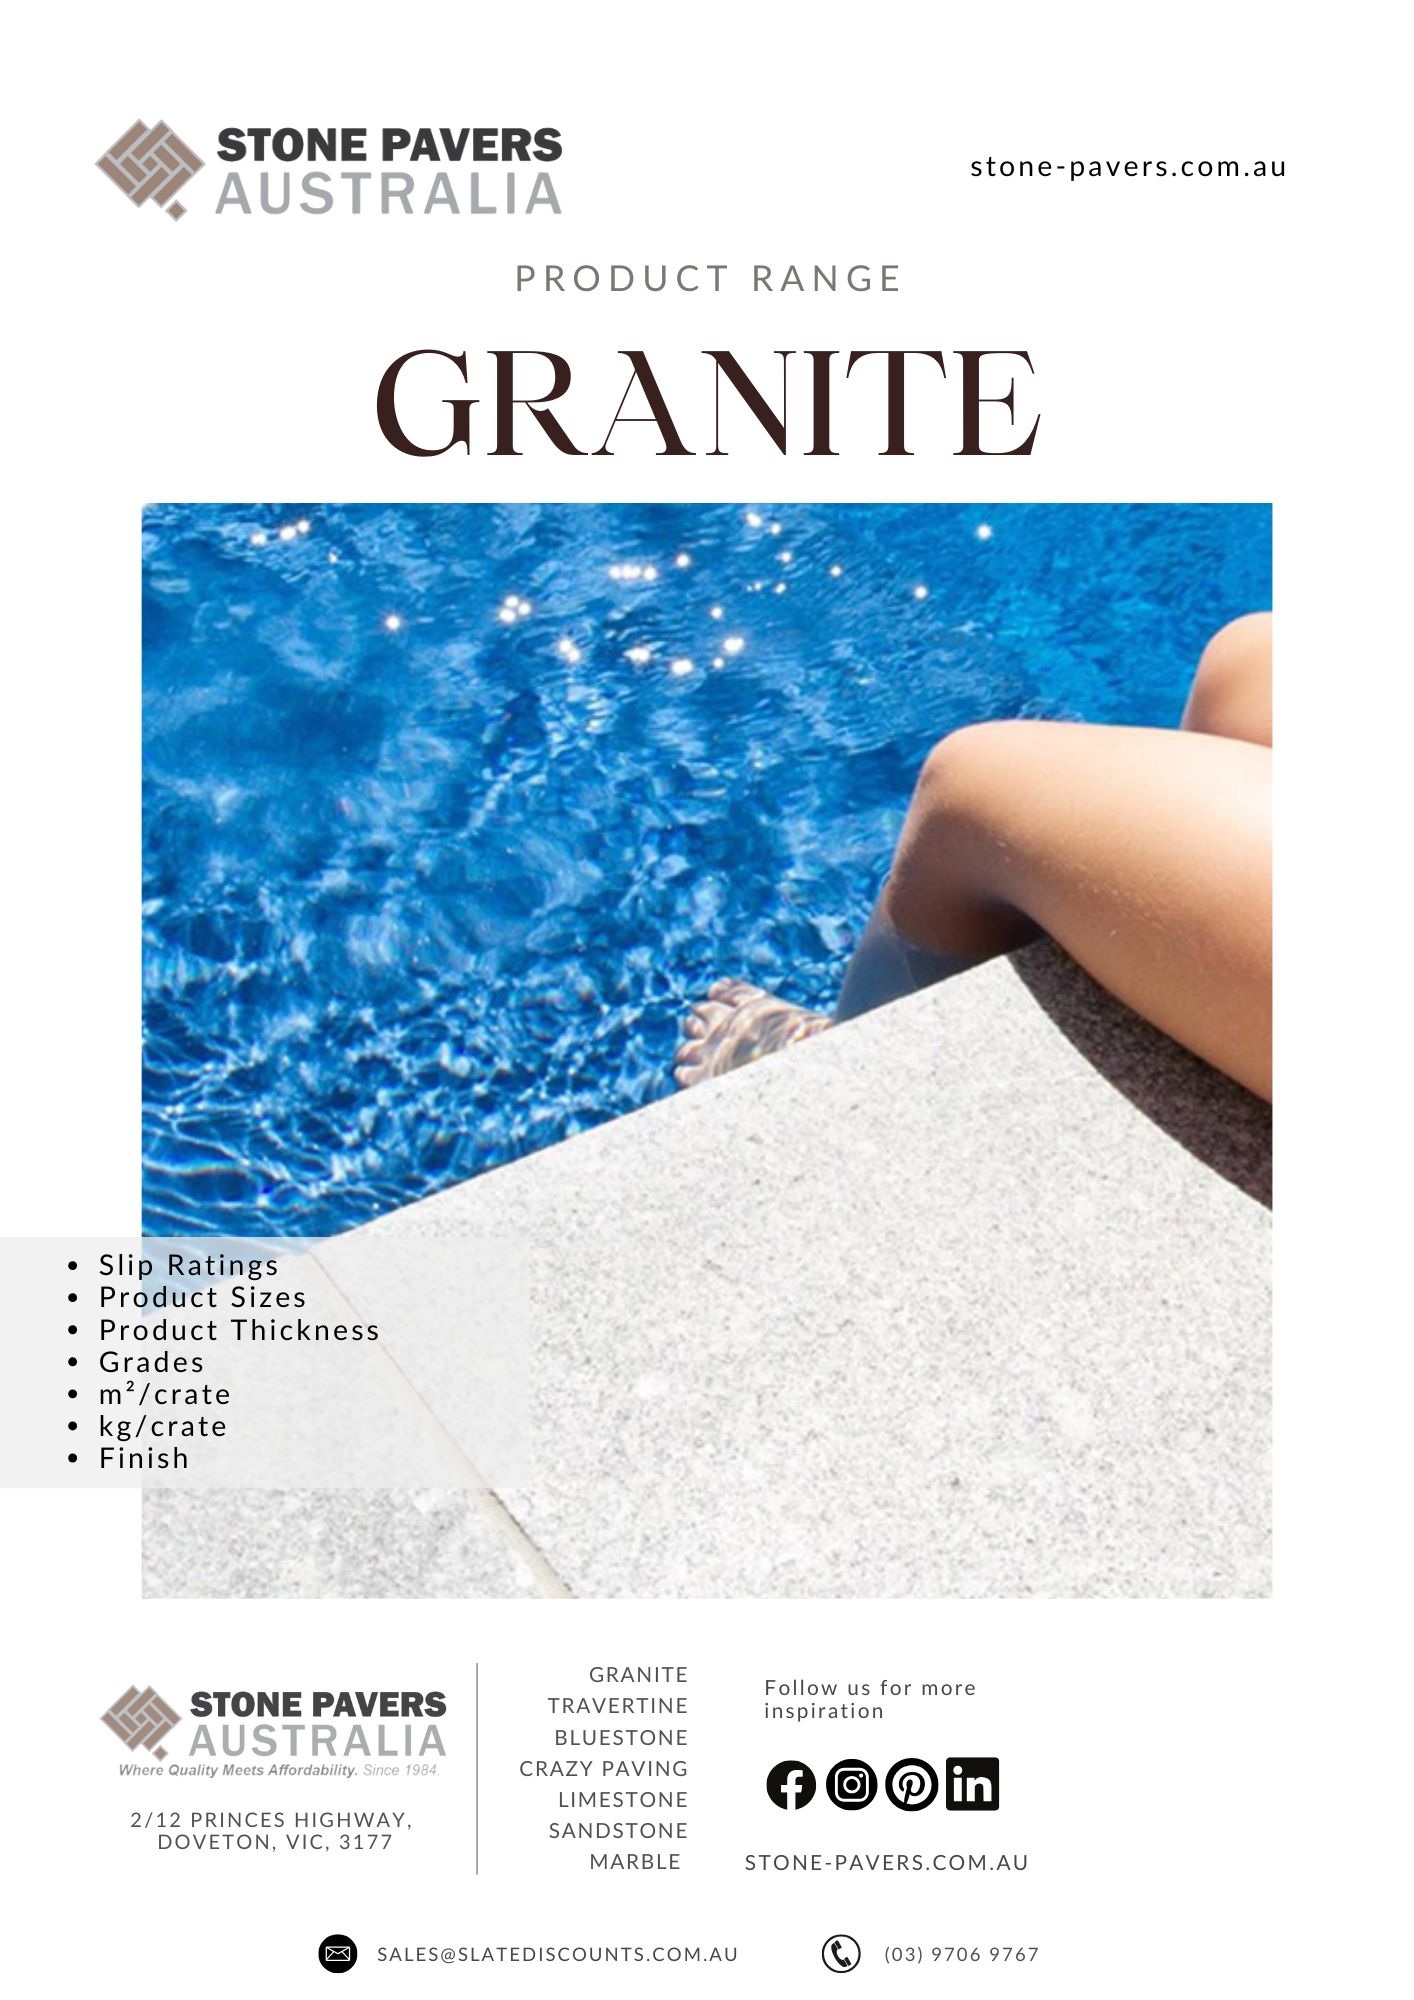
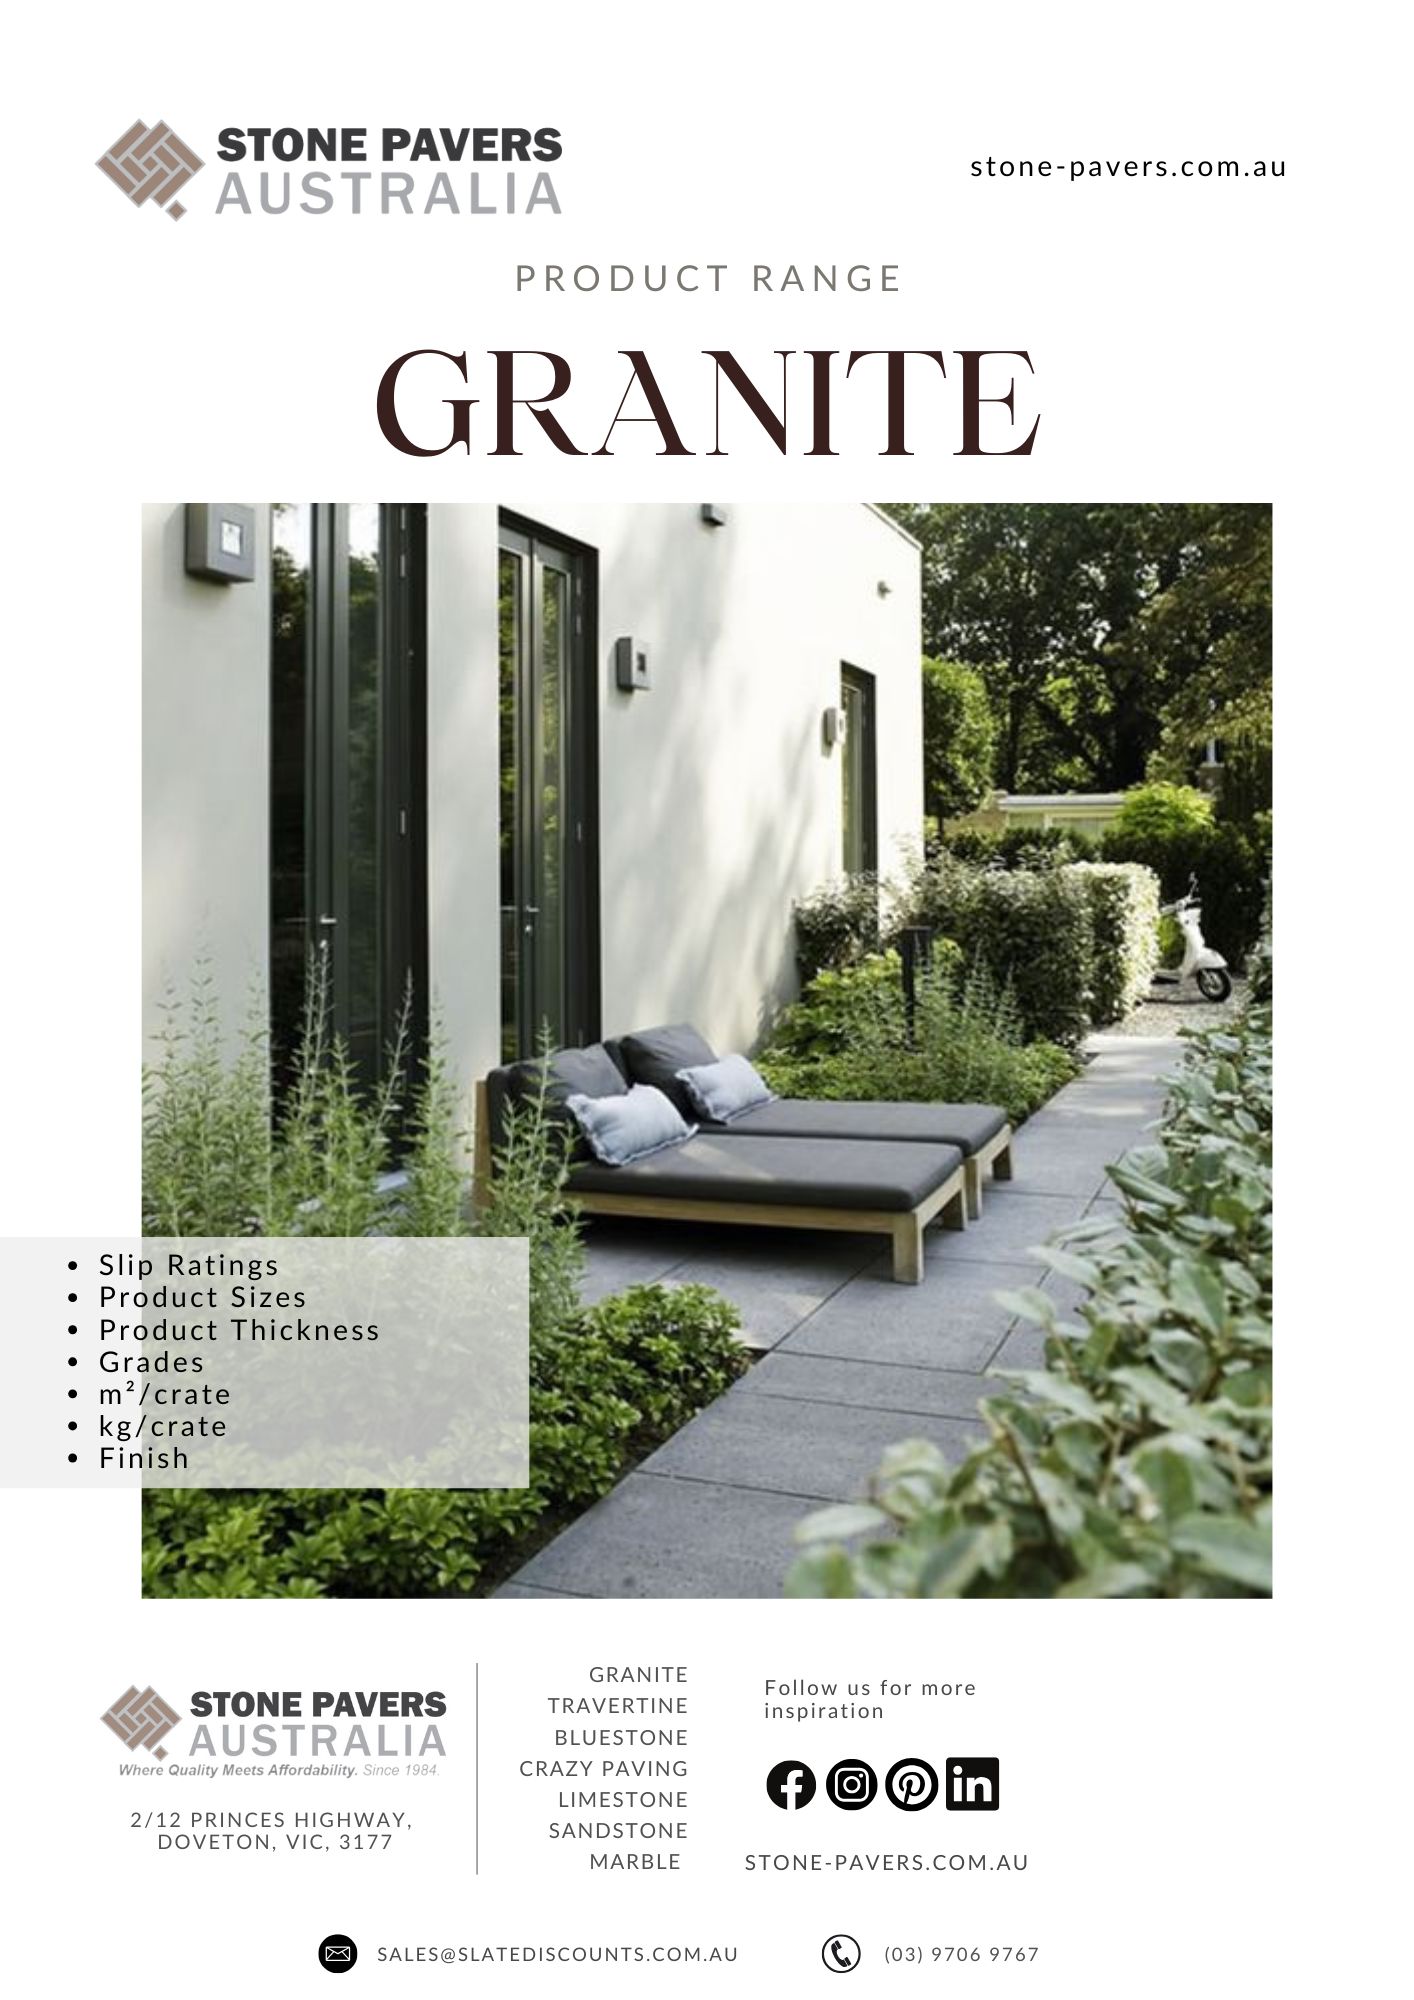
Best for: patios, courtyards, paths, pool surrounds (pedestrian loads), outdoor entertaining.
Mark finished levels and fall direction
Set stringlines and pegs for height and slope
Typical depth (varies by soil):
Pedestrian areas: ~120–170mm below finished level
(e.g., 80–120mm road base + 25–35mm bedding + paver thickness)
Driveways: engineered—often 200–300mm+ total pavement thickness
If you’re on reactive clay (common in parts of VIC/NSW/QLD), allow extra depth and compaction, and consider drainage/ag pipe.
Compact natural ground with plate compactor
Soft spots must be removed and replaced with compactable fill
Place in layers of 50–75mm, compact each layer
Keep checking falls as you go
Final compacted base should be firm with consistent slope
Stone moves without restraints.
Concrete haunching, treated timber, aluminium/steel edging—depends on design
Ensure edging is pinned/haunched properly
Common bedding mix: 8 parts sand : 1 part cement (dry-mixed).
Screed to 25–35mm thickness
Lightly dampen—don’t saturate
Work in small areas so bedding doesn’t dry out before laying stone
Start from a straight reference line
Tap down with a rubber mallet
Maintain consistent joints
Cut edges neatly with diamond blade (wet cutting reduces dust)
Check levels frequently with straight edge/level
Some natural stone should not be compacted with a plate compactor directly
If compaction is needed, use a rubber mat and confirm the stone can handle it
Many installers rely on hand-tapping + stable bed for stone
Option 1: Polymer sand (good for small joints, low movement areas)
Option 2: Dry sand (traditional, may wash out)
Option 3: Mortar/Grout joints (best for pool surrounds & premium finish)
For grout joints outdoors, use a suitable exterior grout/mortar and allow movement joints.
Best for: pool coping, pool surrounds, patios on slab, balconies, alfresco slabs.
Slab must be sound: no loose areas, no oil contamination
Confirm fall is correct. If not, you may need a screed to create falls
Clean thoroughly
Balconies, suspended slabs, and some pool zones may require waterproof membrane (AS 4654.2 / NCC considerations). Use a compliant system.
Natural stone expands/contracts; outdoors needs flexibility.
Use an external flexible adhesive suitable for stone
Many pros use double-buttering: adhesive on slab + back-butter each paver
Snap chalk lines for straightness
Lay to line, maintain joints, check levels
Use levelling clips if needed for large format pieces
Perimeter joints against walls/columns
Expansion joints at intervals (often every 3–5m depending on exposure)
Over any slab control joints: carry joints through to surface
Use exterior-grade grout or mortar suited to joint width
Clean as you go to avoid haze
For pool surrounds, choose jointing that resists water + chemicals
Prioritise slip resistance + drainage
Ensure falls direct water away from pool edge where required
Consider salt/chlorine exposure: rinse regularly, seal appropriately
Avoid harsh acids for cleaning (can etch calcium-based stone)
Seal after installation and joints are fully cured and dry
Some installers pre-seal (face-seal) to reduce grout staining—stone dependent
Use a penetrating sealer designed for your stone
Choose natural finish unless you want an enhanced/wet look
Reseal frequency depends on exposure (sun, rain, pool chemicals, traffic)
Test by sprinkling water: if it darkens immediately, it’s time to reseal
Sweep and hose regularly
Use pH-neutral cleaners for natural stone
Avoid hydrochloric acid / strong acidic cleaners (especially on travertine/limestone)
No fall/drainage: leads to ponding, stains, algae
Skipping edge restraints: pavers creep and joints open
Poor compaction: base settles → lippage/cracking
Wrong adhesive outside: debonding, hollow spots
No movement joints: tenting/cracking in heat
Sealing too early: traps moisture → hazing
Falls: 1:80 minimum (often 1:60 outdoors/pools)
Waste: 10–15%
Bedding (sand/cement): 8:1
Bedding thickness: 25–35mm
Joint width: 3–10mm (depends on stone edge)
Expansion joints: every 3–5m + perimeters + over slab joints
Driveways
Suspended slabs/balconies
Complex drainage sites
Pool coping integration and waterproofing interfaces